ftDuino32 - Wi-Fi Setup
The ESP32 CPU of the ftDuino32 includes Wi-Fi capabilities and the ftDuino32 can be integrated into a wireless network. The use of Wi-Fi needs to be configured on the ftDuino32.
Starting the Wi-Fi Setup
Wi-Fi setup is started by launching the wifi_setup application on the ftDuino32. This will temporarily start a local Wi-Fi network named ftDuino32-AP.

Accessing the local Wi-Fi
The temporary local Wi-Fi needs to be accessed by the device you are going to use to configure Wi-Fi. E.g. on your smartphone select the Wi-Fi network named ftDuino32-AP.
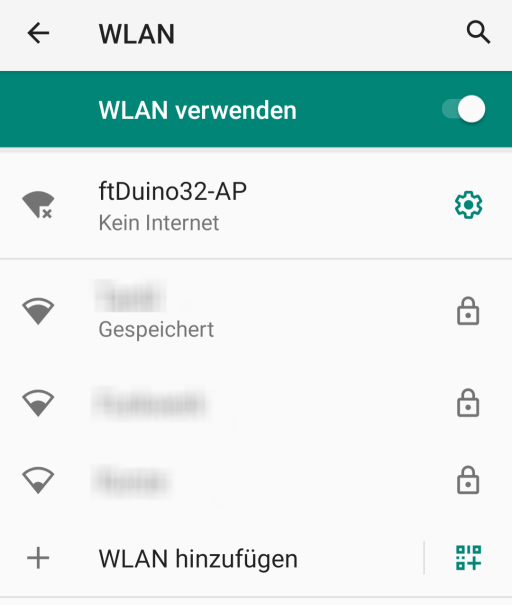
You will be notified that this network does not give you internet access as it is limited to the ftDuino32 only. This is ok as this network is only used during setup.
Configuration with the browser
Once connected to the ftDuino32-AP network point your browser to the address which the Wi-Fi setup application shows on the ftDuino32. In this case, it's 192.168.4.1. So use the browser to connect to http://192.168.4.1. As a result, the network configuration page should be displayed.
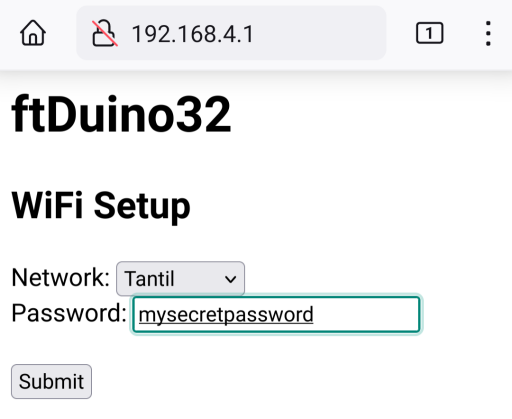
Select the Wi-Fi network you are going to use with the ftDuino32 and enter the password of that network. Finally select Submit.
Finishing the Wi-Fi setup
The selected Wi-Fi network will be submitted to the ftDuino32 and stored in its internal configuration.

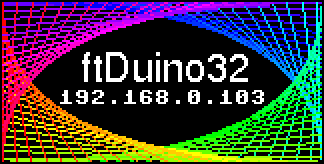
Once the configuration is stored, the ftDuiono32 will restart and try to connect to the newly configured network. If successful, the IP address given by that network will be displayed underneath the ftDuino32 logo.
The ftDuino32 is now integrated into your Wi-Fi network and the local network used during configuration is now being disabled.
The ftDuino32 is now accessible from other devices in that Wi-Fi network and can itself connect to services on the internet.
Testing the Wi-Fi setup
You can now test the Wi-Fi connection by running e.g. the simple_web.py demo and connecting to the IP address now displayed on the ftDuino32's splash screen.
Either use the IP address from the splash screen like e.g. http://192.168.0.103 from the screenshot depicted above. Or use the name http://ftduino32.local as the ftDuino32 supports mDNS.
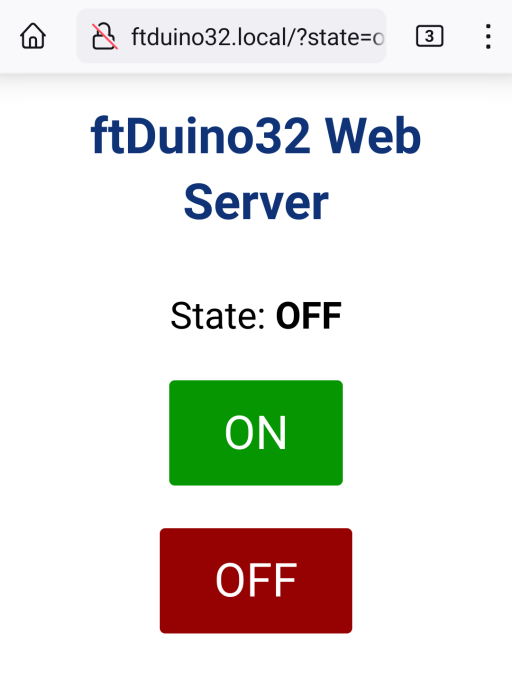
A simple web page will open that allows you to control output O1 as well as the built-in LED remotely.